How to pot artificial plants?
 2025 12 3
Today, with countless planters, fillers, and styling options available, potting an artificial plant is easier and more creative than ever. A planter or basket plays a major role in the final look; the right choice can elevate a simple plant into a striking focal point, while the wrong one can make even the most realistic foliage appear flat. Since most faux plants arrive in basic starter pots, how to choose the right pot for your artificial plant is often the key to unlocking their full decorative potential.
This guide explains how to pot artificial plants step by step, how to choose the right planter, and what materials work best.

Before we dive into the practical steps, let’s start with a simple question many people have when they first fill the artificial plant pot:
Can You Pot Artificial Plants?
Yes—you can pot artificial plants, and it’s simpler than you might think. In fact, it’s one of the best ways to personalize the look of your greenery.
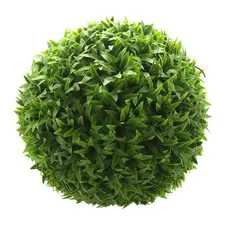
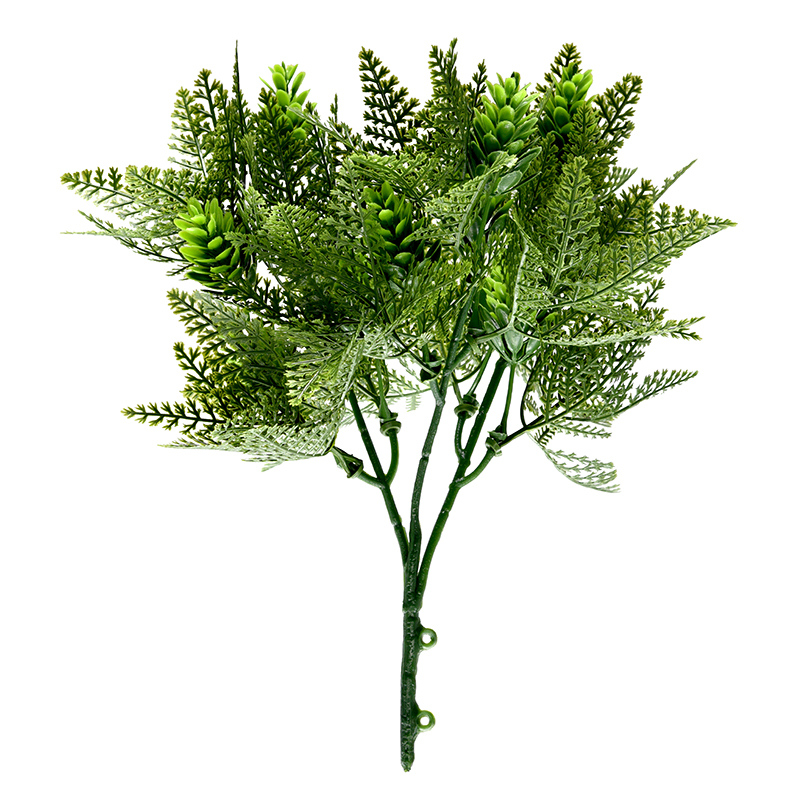
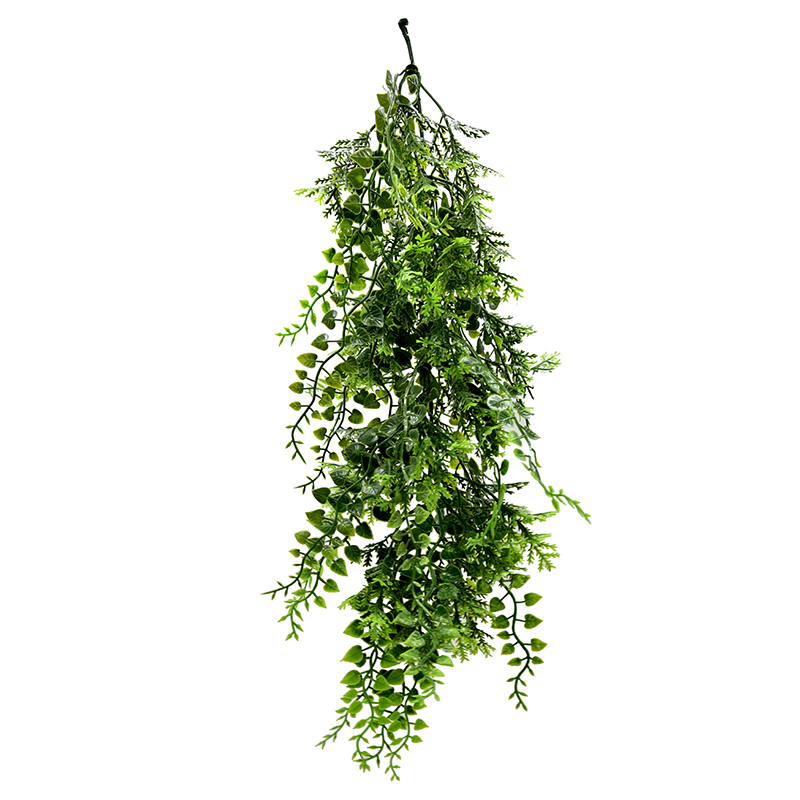
Currently, the most common artificial plants suitable for repotting include topiaries, hanging vines, and stems. As product ranges expand, even more options will become available.

Should You Replace the Starter Pot?
You can, but you don’t have to.
Starter pots serve a practical purpose: they hold the plant together, anchor the internal frame, and often provide a stable base. They’re functional, but rarely decorative. Many people keep them in place and simply set the starter pot inside a larger, more attractive planter.
However, repotting the plant into a new container offers more styling flexibility and creates a more finished, intentional look.
Here are a few examples:
- Artificial topiary trees: Choose sturdy planters made of ceramic, stone, or concrete for added stability, especially outdoors.
- Hanging plants: Use lightweight baskets or slim window planters that highlight trailing vines.

In short, the starter pot acts as the structural foundation, while your final planter adds personality, texture, and visual impact.
What Size Pot Should You Choose?
A simple rule of thumb is to select a planter 2–4 inches wider than the original starter pot.
This extra space helps in two key ways:
- Stability: Essential for taller or heavier plants
- Realism: A slightly larger pot gives a more natural, proportional appearance
How to Pot an Artificial Plant?
Now that the basics are covered, it’s time to move into the practical steps. Repotting artificial plants doesn’t take long, but a little preparation makes the process easier and more effective.
Before starting, make sure you have the right tools ready to go.
- Chosen pot
- Filler material (cardboard scraps, foam, etc.)
- Potting material (soil, moss, stones, etc.)
- Large piece of cardboard
- Scissors
- Ruler
- Marker
- Pen knife
Then follow this straightforward process to put the artificial plants in the pots:
- Pick the pot– Choose a planter that’s larger than the starter pot and suits your interior or exterior style.
- Gather tools– Keep all materials and tools within reach to make the process quick and efficient.
- Create a base cover – Place the pot upside down on cardboard, trace the outline, and cut slightly inside the line. This cutout will sit on top of fillers, concealing them from view.
- Measure and cut the opening– Measure the width of the starter pot’s base and cut a hole in the center of the cardboard cover. The hole should fit snugly around the plant stem or base to keep it secure.
- Add filler for support– Position the plant (still in its starter pot) inside the new planter. Fill the gaps around it with stabilizing materials until it feels secure. More detail on suitable fillers is provided in the following section.
- Finish with potting material– Place the cardboard cover on top of the filler, then add a decorative top layer for a polished look. For inspiration and final layer options, see the section on stabilizing artificial plants that follows.
How to Stabilize Artificial Plants in Pots?
Securing an artificial plant in a pot relies on using the right structural fillers for stability and a decorative top layer for style. The combination keeps the plant steady while giving the display a clean, natural appearance.
Structural Filler (Core Support)
- Purpose:Prevent wobbling and keep the starter pot firmly in place.
- Recommended materials:dense foam, folded cardboard, coarse pebbles, sand, or compacted grit. Use heavier materials for large or tall plants and lighter options for hanging or small planters. For outdoor planters or windy locations, choose heavier fillers (stones or sand) or add weight to the base.
Decorative Top Layer (Surface Finish)
- Purpose: conceal the structural filler and create the intended aesthetic.
- Recommended materials: preserved moss, decorative gravel, polished stones, faux soil, or small bark chips. These give a natural finish while staying neat and long-lasting.
Notes on Natural Materials
- Fresh soil, twigs, or dried leaves can create a realistic effect but may retain moisture or attract pests. Use these only in outdoor settings with good ventilation.
- Indoors, non-organic or preserved options such as polished pebbles, cork granules, or recycled glass beads provide a clean look without added upkeep.
Extra Stability for Tall or Outdoor Plants
For very tall or outdoor artificial plants, anchor the base with a discreet weighted insert—such as a sandbag or concrete block—hidden beneath the filler. This prevents tipping and keeps the display secure.

Finishing Thoughts
Potting artificial plants is an easy, creative way to elevate their look and make them feel at home in any space. With the right planter, fillers, and finishing touches, faux greenery can be styled to suit any interior or exterior design.
The best part? Unlike real plants, artificial ones never wither. That means you can experiment with different textures, fillers, and seasonal accents as often as you like, without worrying about upkeep.
If you’d like more tips or personalized advice on potting artificial greenery, our team is always here to help.