How to Keep Artificial Plants From Blowing Over?
 2026 01 9
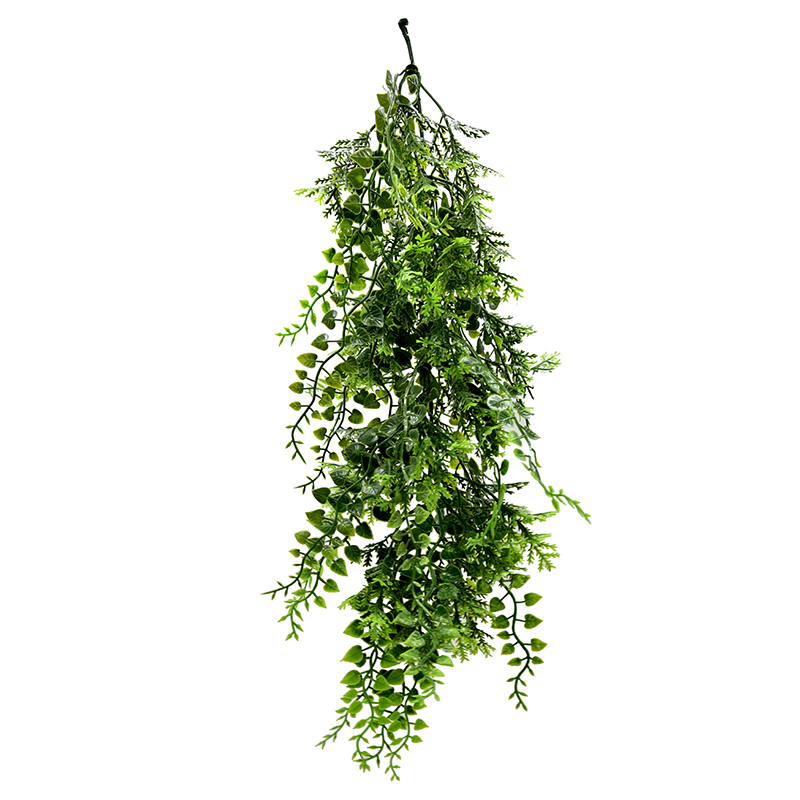
Artificial plants are a fantastic way to introduce greenery into your space without the time-consuming care that live plants require. However, since they lack roots to anchor them, they can easily tip over. This means it’s up to you to ensure they stay upright and stable. By weighing down your faux plants, you can avoid the frustration of constantly adjusting them while keeping them looking polished and realistic. Whether it’s a gust of wind, a curious pet, or an uneven surface, stability is key. This guide will walk you through some simple yet effective methods to keep artificial plants from blowing over and ensure they stay securely in place.

Why Secure Artificial Plants Outdoors?
Unlike real plants, which rely on their roots for stability, artificial plants, particularly tall ones, need extra support to remain upright. Without proper stabilization, they can easily be knocked over by wind, uneven ground, or even pets. This not only affects their appearance but can also become a constant hassle.
Weighing down artificial plants is essential for both aesthetics and safety. When secured properly, your plants will remain firmly in place, enhancing the overall look and feel of your space. It also prevents accidents, such as pots tipping over or plants toppling when brushed against. For outdoor spaces, securing faux greenery is even more important, as wind can easily cause them to fall. Properly securing them ensures your patio or garden stays neat and tidy, no matter the weather.
How to Weigh Down Fake Plants for Outdoor Use?
Step 1: Choose a Heavy, Outdoor-Friendly Pot
The foundation of your artificial plant display starts with selecting the right pot. Opt for materials that are both durable and weather-resistant, such as concrete, terracotta, or heavy ceramic. These materials can withstand outdoor elements while providing the necessary weight to keep your plant stable.

Consider the size and shape of the pot too. It should fit your artificial plant snugly but not feel too tight or too loose. If your plant arrives in a small plastic nursery pot, you can treat it as a liner and place it inside a more decorative, larger pot. This approach allows you to choose a pot design that complements your outdoor decor while giving the plant a more stable base.
Tip: If you’re in a windy area, go for a pot with a wide base. This provides extra stability and significantly reduces the risk of tipping over.
Step 2: Add Weight to Stabilize the Base
To ensure your artificial plant remains upright, especially in exposed areas, you’ll need to add weight to the bottom of the pot. This prevents the plant from being easily moved or toppled by wind or other elements.
Popular Weight Fillers:
- Gravel or Pebbles: Fill about one-third of the pot with gravel. It’s affordable, readily available, and provides a solid foundation.
- Bricks or Large Rocks: For taller pots or heavier plants, place a few bricks or large rocks at the base to anchor the plant securely.
- Sand or Soil: Once the gravel or rocks are in place, top them off with sand or soil. This not only fills any remaining gaps but also adds extra weight to help keep the plant in place.
Step 3: Position and Adjust the Plant
With the pot weighted down, it’s time to place your artificial plant inside. Adjust the height of the plant to ensure it sits naturally in the pot. You can use more sand or soil to raise the plant to the desired height, which helps secure it in place.

Make sure the plant is placed securely to enhance its realistic appearance and avoid any wobbling. If your plant has a trunk or stem, adjust its angle to mimic natural growth. A slight bend in the leaves can also make it look more lifelike.
Step 4: Secure the Stem with Expanding Foam or Adhesive
For added stability, especially in high-wind or open areas, securing the plant’s stem with expanding foam or weather-resistant adhesive is a great option.
Using Expanding Foam:
- Place the plant in the center of the pot.
- Apply expanding foam around the base of the plant, filling any gaps to keep it firmly in place.
- Once the foam hardens, trim away any excess to keep it hidden beneath the filler layer.
Expanding foam is particularly useful for larger or heavier plants, as it creates a solid, permanent hold. If you’re working with a smaller pot or lighter plant, weather-resistant adhesive can also do the job without the expanding effect.
Step 5: Add Decorative Fillers for a Finished Look
Once the plant is securely in place, cover the weight fillers and foam with decorative materials. This final step not only conceals the stabilizing elements but also gives the pot a natural, well-finished appearance.
Decorative Filler Ideas:
- Decorative Stones or Gravel: Choose stones that complement the color and style of your pot. They’ll give the top of the pot a refined, finished appearance.
- Moss: Ideal for an organic, earthy feel, moss softens the look while adding depth and texture.
- Soil or Wood Chips: If you prefer a more natural, potted-plant look, soil or wood chips can be used as a top layer.
To personalize the arrangement, you can also add small decorative accents such as shells or pine cones. These subtle details help tie the look together and elevate the overall outdoor décor.
Troubleshooting Common Issues
- Plant Keeps Tipping Over: If your plant continues to tip over, ensure you’ve added enough weight at the base. Additionally, consider using a wider, more stable pot to further enhance stability, especially in windy conditions.
- Plant Doesn’t Look Realistic: To improve the plant’s realism, gently adjust the branches and leaves. Consider using the natural-looking fillers mentioned above, such as soil, moss, or wood chips, to complete the look and ensure the plants blend seamlessly into their surroundings.
- Plant Shifts or Leans Over Time: If the plant begins to lean after a period of use, check whether the internal support has loosened. Re-centering the stem and adding more filler or foam around the base can restore stability. Periodic adjustments are normal, especially for larger plants exposed to outdoor elements.
Final Thoughts
Securing artificial plants in outdoor pots is a simple process that involves the right materials and techniques. By following these steps, you can create stunning, long-lasting displays that will withstand the elements and elevate your outdoor space.
With minimal maintenance, your potted artificial plants will remain stable, vibrant, and beautiful year-round—bringing the perfect touch of greenery without the hassle of upkeep.
Embrace the low-maintenance beauty of artificial plants and transform your outdoor environment into a stylish, worry-free oasis.
For more information about our range of artificial plants, outdoor planting solutions, and more, don’t hesitate to get in touch today!