How to Install Artificial Green Wall / Hedge Panels?
Get Start
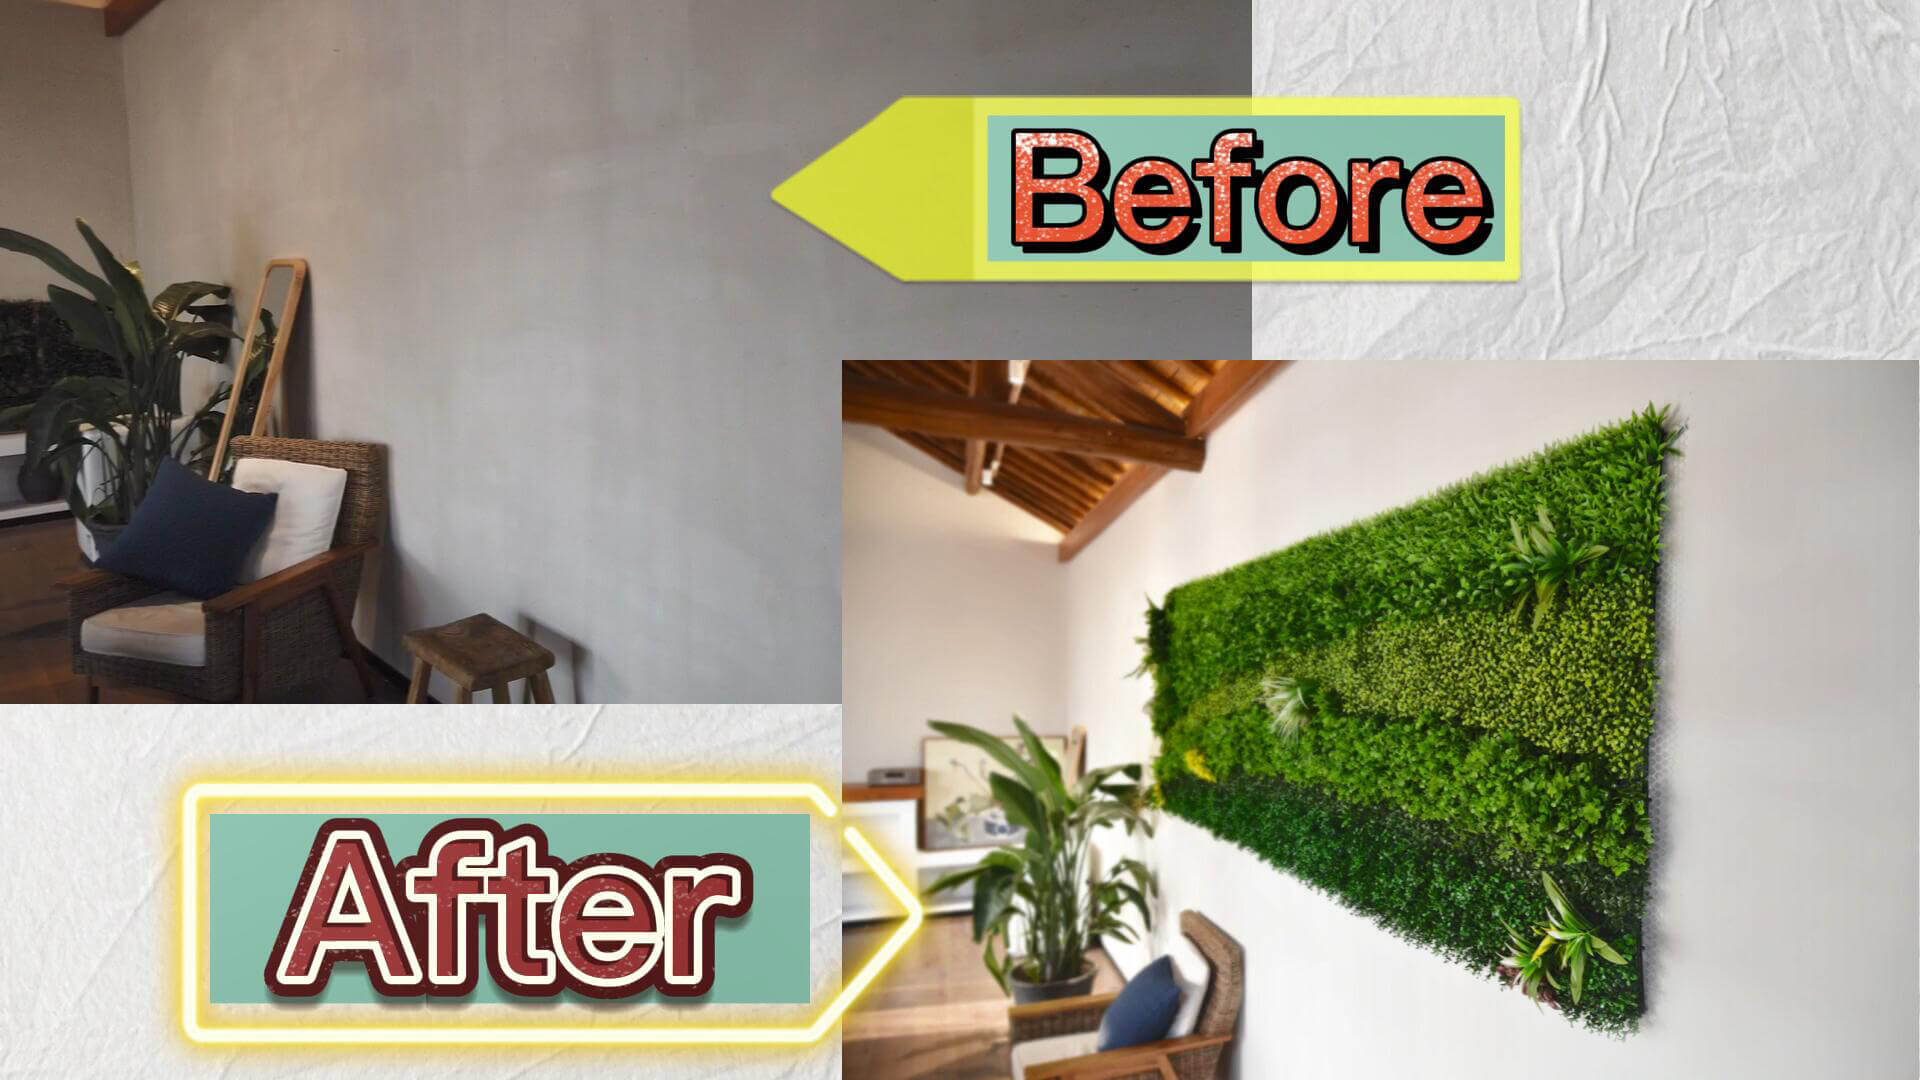
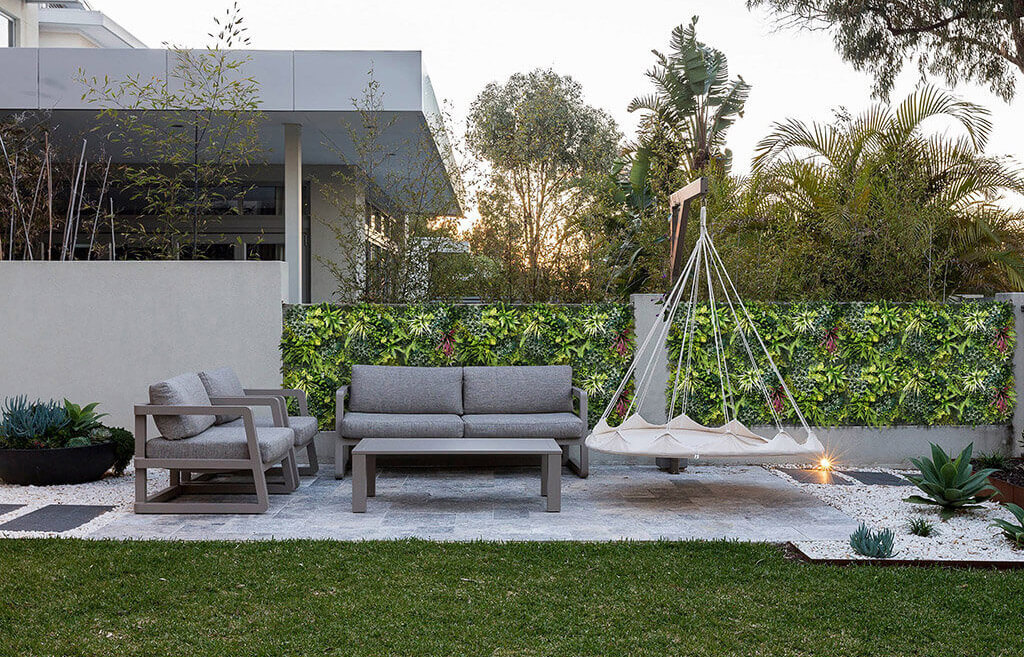
Installing artificial hedge walls inject new vitality into mundane spaces with their vibrant colors and unique styles. Quality artificial panels are meticulously crafted to look incredibly authentic, completely devoid of any artificial feel. All of our multifunctional artificial hedge panels can be easily disassembled and reconnected to easily adapt to various shapes and sizes
The ways of installing fake plants depend on the types of walls. This page will show the guides for how to install artificial hedges on different wall surfaces. We suggest you to read this guide before your installation..
Make sure you’ve ordered the CORRECT quantity of artificial green wall or hedge panels.
Careful planning and measurement are crucial. To calculate the required number of green wall panels, all you need to do is calculate your square meters – length x width. For example, a 20m x 30m wall equals 20 x 30 = 600㎡, so you need 600㎡ of panels. Most of our artificial plant wall panels are 50cm x 50cm, 1m x 1m, so it’s easy to calculate.
For our worldwide wholesale customer, we equip expert sales team and support team for guidance to ensure an efficient and satisfied communication.
How to Install Vertical Garden and Hedge Panels on Paling Fences (or Wire Fences)

You will need: Plastic Ties and Scissors
Step 1: Connect the panels effortlessly using the easy-snap-to-lock system. Only few operation works will be needed to complete the connection between panels.
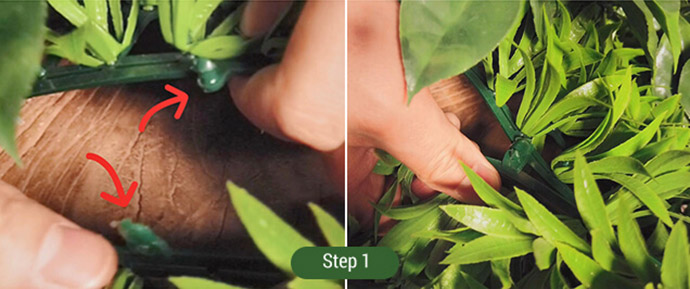
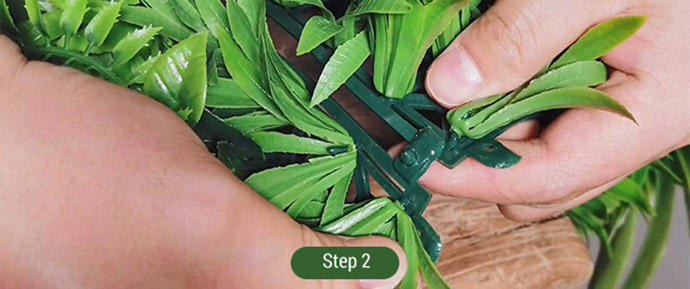
Step 2: Connect all the panels together as required size. It may require some size adjustments at the end, which is certainly a very simple operation.
Step 3: Fix the panels on the fence with plastic ties. After connecting the plant panels to required size, just fix the panels on the fence with plastic ties. Be careful to align the panel with the fence to ensure the aesthetics of installation.
Step 4: Trim the extra plastic ties to finish the installation. If there is extra length for the plastic ties, use scissors to trim the extra length until they fit perfectly.
How to Install Artificial Hedges on Timber Cladding Wall
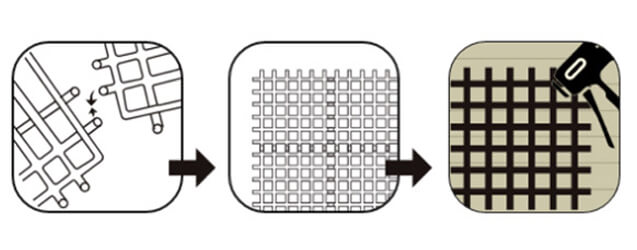
You will need: Staple Gun and Staples
Step 1: Connect the hedge panels together by using our preferred easy-snap-to-lock system.
Step 2: Connect all the panels together before fixing them on the wall.
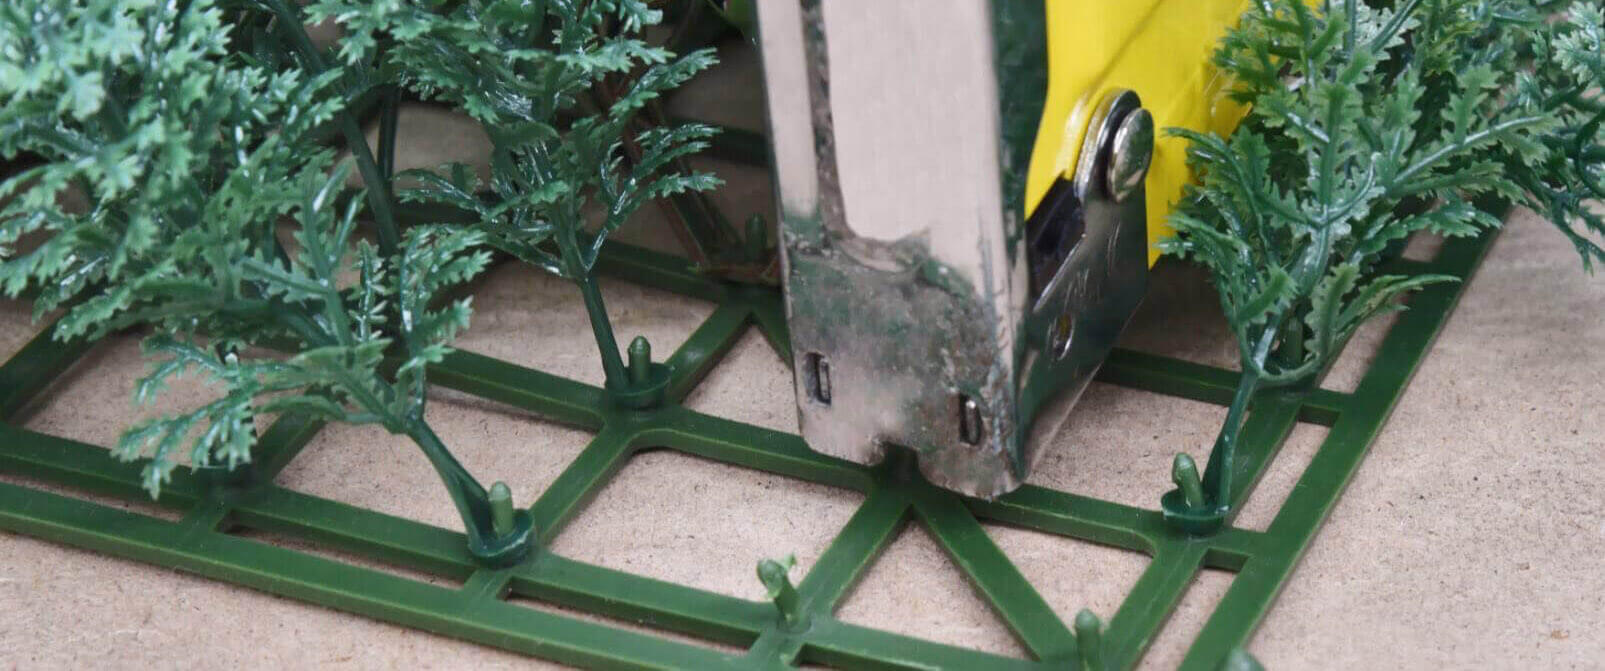
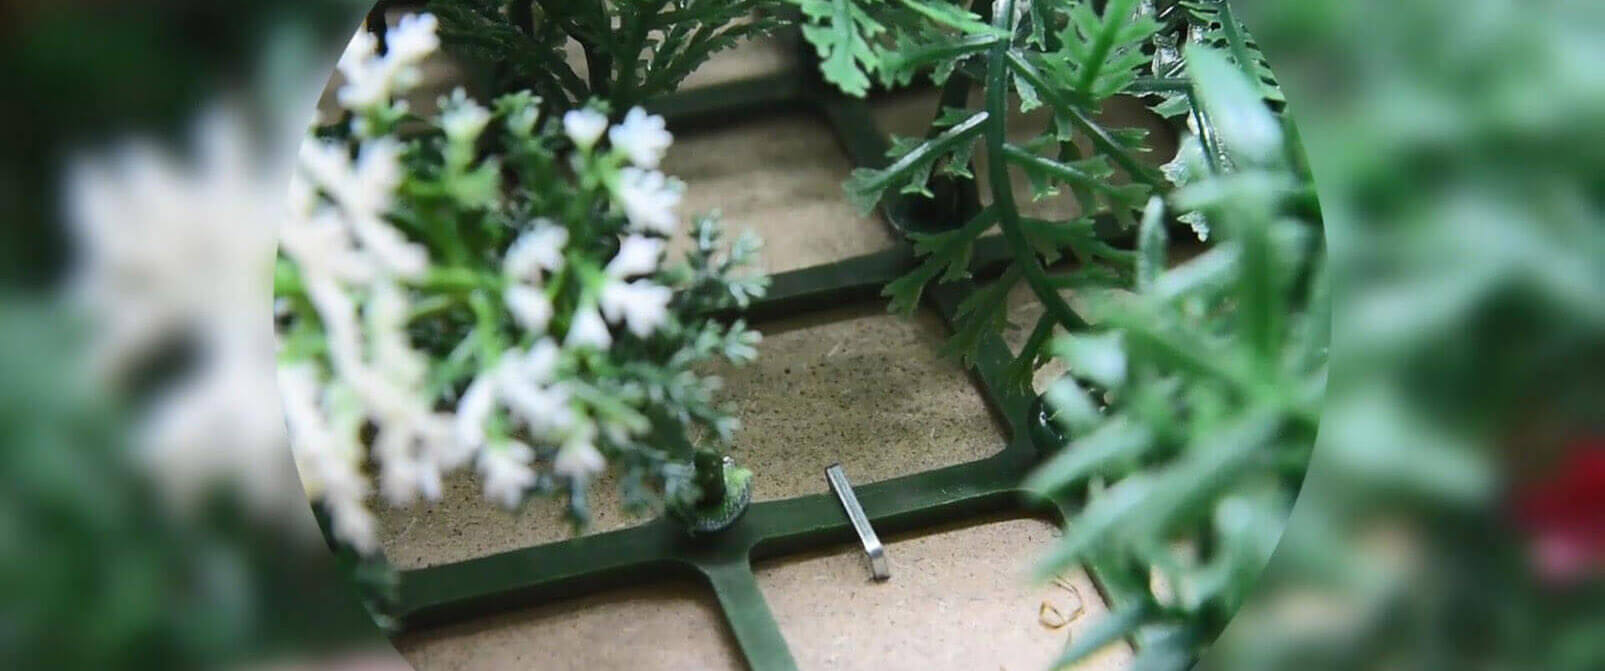
Step3: Secure the panels with a staple gun. Our preferred installation method on the wood is to use a staple gun. It is the easiest way to install vertical gardens and hedge panels. The tools you need are: one staple gun and some staples. Just nail the panels directly onto the place. Be sure to stabilize the hedge panel securely.
How to Install Artificial Vertical Garden on Brick Or Concrete Wall

You will need: Steel Wire Grid, Drill, Plastic Ties and Scissors
Step 1: Connect the panels together by using the easy-snap-to-lock system.
Step 2: Connect panels together according to required size.
Step3: Measure to define the fixed point for the steel wire gird. The brick or concrete wall is harder and difficult for staple nails. So it is necessary to fix the steel wire grid before installing the artificial green wall panels. This step is to confirm the fixed points for the steel wire grid.
Step4: Fix the steel wire grid on the wall. The tool used is a drill. Pay attention to the safety of use. With the support of wire mesh, the faux plant panels can be more stably installed on the wall, and the fixation will be easier.
Step 5: Secure the panels onto the steel wire grid with plastic ties. Plastic ties are essential for this step as they provide a convenient and removable method to affix the hedge panels to the wire mesh.
Step6: Cut the extra plastic ties. Simply use scissors to trim the excess lengths of the plastic ties until they fit perfectly.
How to Choose Suitable Hedge Panels for Artificial Green Walls?
100% Virgin Material
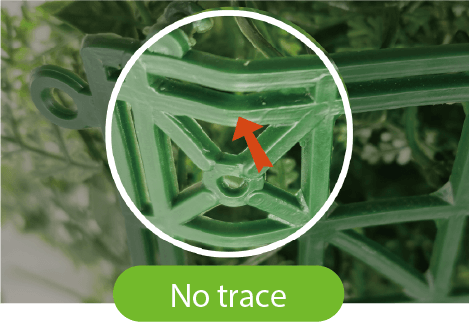
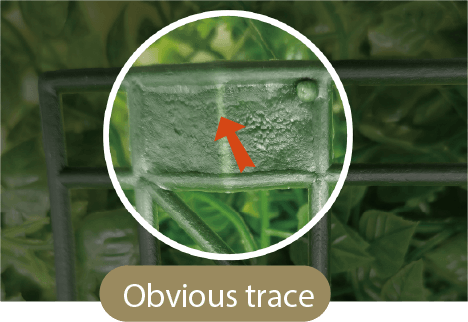
Compared with unqualified products, EdenVert’s artificial plants are all made of 100% pure materials to ensure safety and health. In addition, high-quality raw materials make the appearance of the product beautiful and perfect, and every leaf is plump, tender and flawless.
Healthy & Eco-friendly
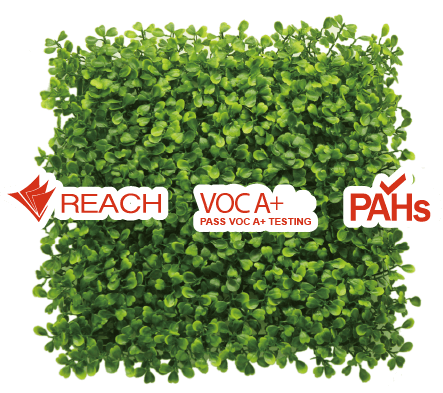
In recent years, artificial living wall panels have become more and more popular in many decorative applications. First of all, the raw materials used in manufacturing should not pose any risk to the health and safety. Customers should be able to choose their favorite products and use them with a peace of mind. This is why EdenVert always puts REACH, RoHs and PAHs tests in the first place.
Fire Retardant
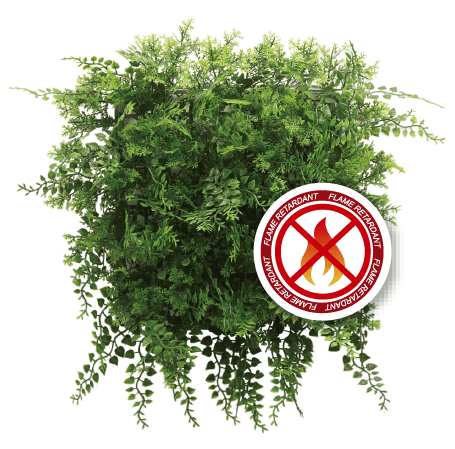
Whether for outdoor or indoor use, the flame retardancy of faux greenery wall can not be ignored. EdenVert products have passed relevant flame retardancy tests supported by SGS. You can choose with confidence.
Anti-UV
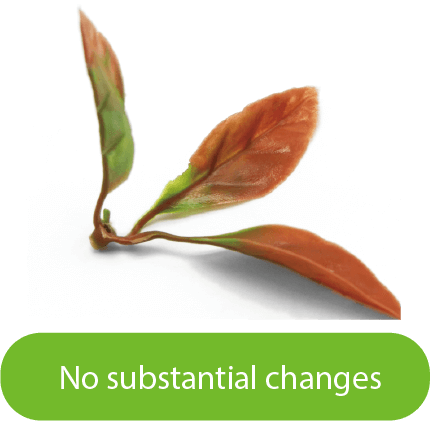
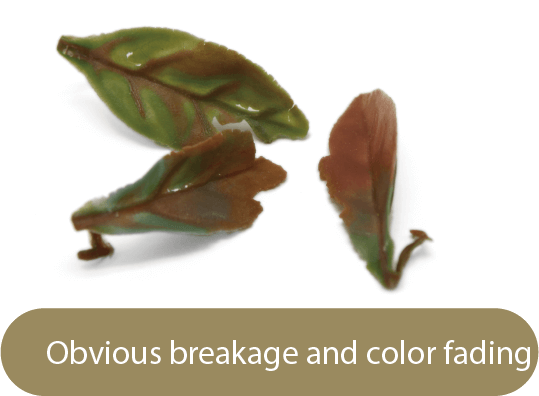
UV resistance is an essential feature especially for outdoor artificial plants. EdenVert faux hedges are made through special manufacturing formula with excellent UV resistance, which can ensure a longer service life.
Longer Warranty
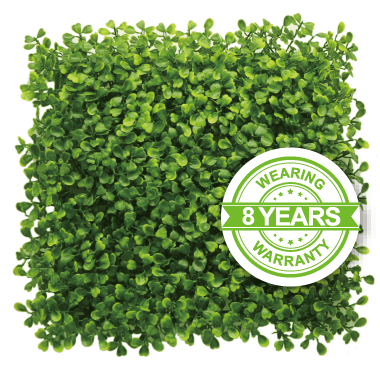
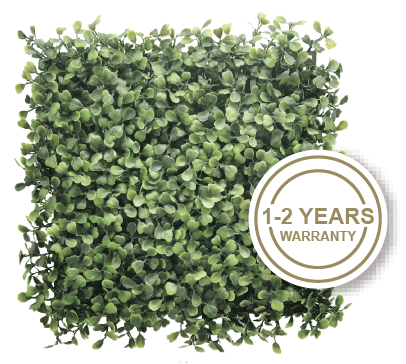
Thanks to our 100% pure raw materials and authoritative certifications from third parties, our artificial panels offer a warranty of 5-8 years for outdoor use and over 10 years for indoor use, which let your get higher cost-effectiveness.
Do’s and Don’ts for Maintaining Artificial Green Walls
Fake green walls are tough but not indestructible! DO NOT use a pressure washer to clean them; instead, opt for a gentle hose. If they are indoors, consider using a soft cloth or sponge dipped in water to gently wipe away any dirt or stains. Be sure to wring out excess water to prevent dripping onto the floor or surrounding areas. If they are outdoors, let the rain naturally clean off most of the dust. DO NOT use poisons or cleaning products, as they can significantly reduce the product’s lifespan and even bleach or melt the foliage.
Careful consideration of the placement of an artificial green wall is essential to ensure its longevity and optimal appearance. DO NOT install faux plant walls in areas exposed to intensified light sources, particularly the sun, as this will dramatically decrease their lifespan. Similarly, DO NOT place them in areas prone to intense weather, such as strong winds, as this will cause them to wear out faster. Additionally, Do NOT install fake greenery wall in an area that will be subjected to pollutants, such as high traffic zones or exhaust points, as these can alter the color and life expectancy of the product.
So it is recommended to place fake foliage walls in protected or shaded areas where they can still add beauty and greenery without being exposed to harsh sunlight. Indoor spaces with ample natural light but minimal direct sunlight are ideal for maintaining the vibrancy of faux foliage walls without risking damage from UV rays. Similarly, selecting sheltered outdoor locations, such as covered patios or courtyards, can help shield artificial garden walls from the brunt of harsh weather conditions, ensuring their longevity and durability.
